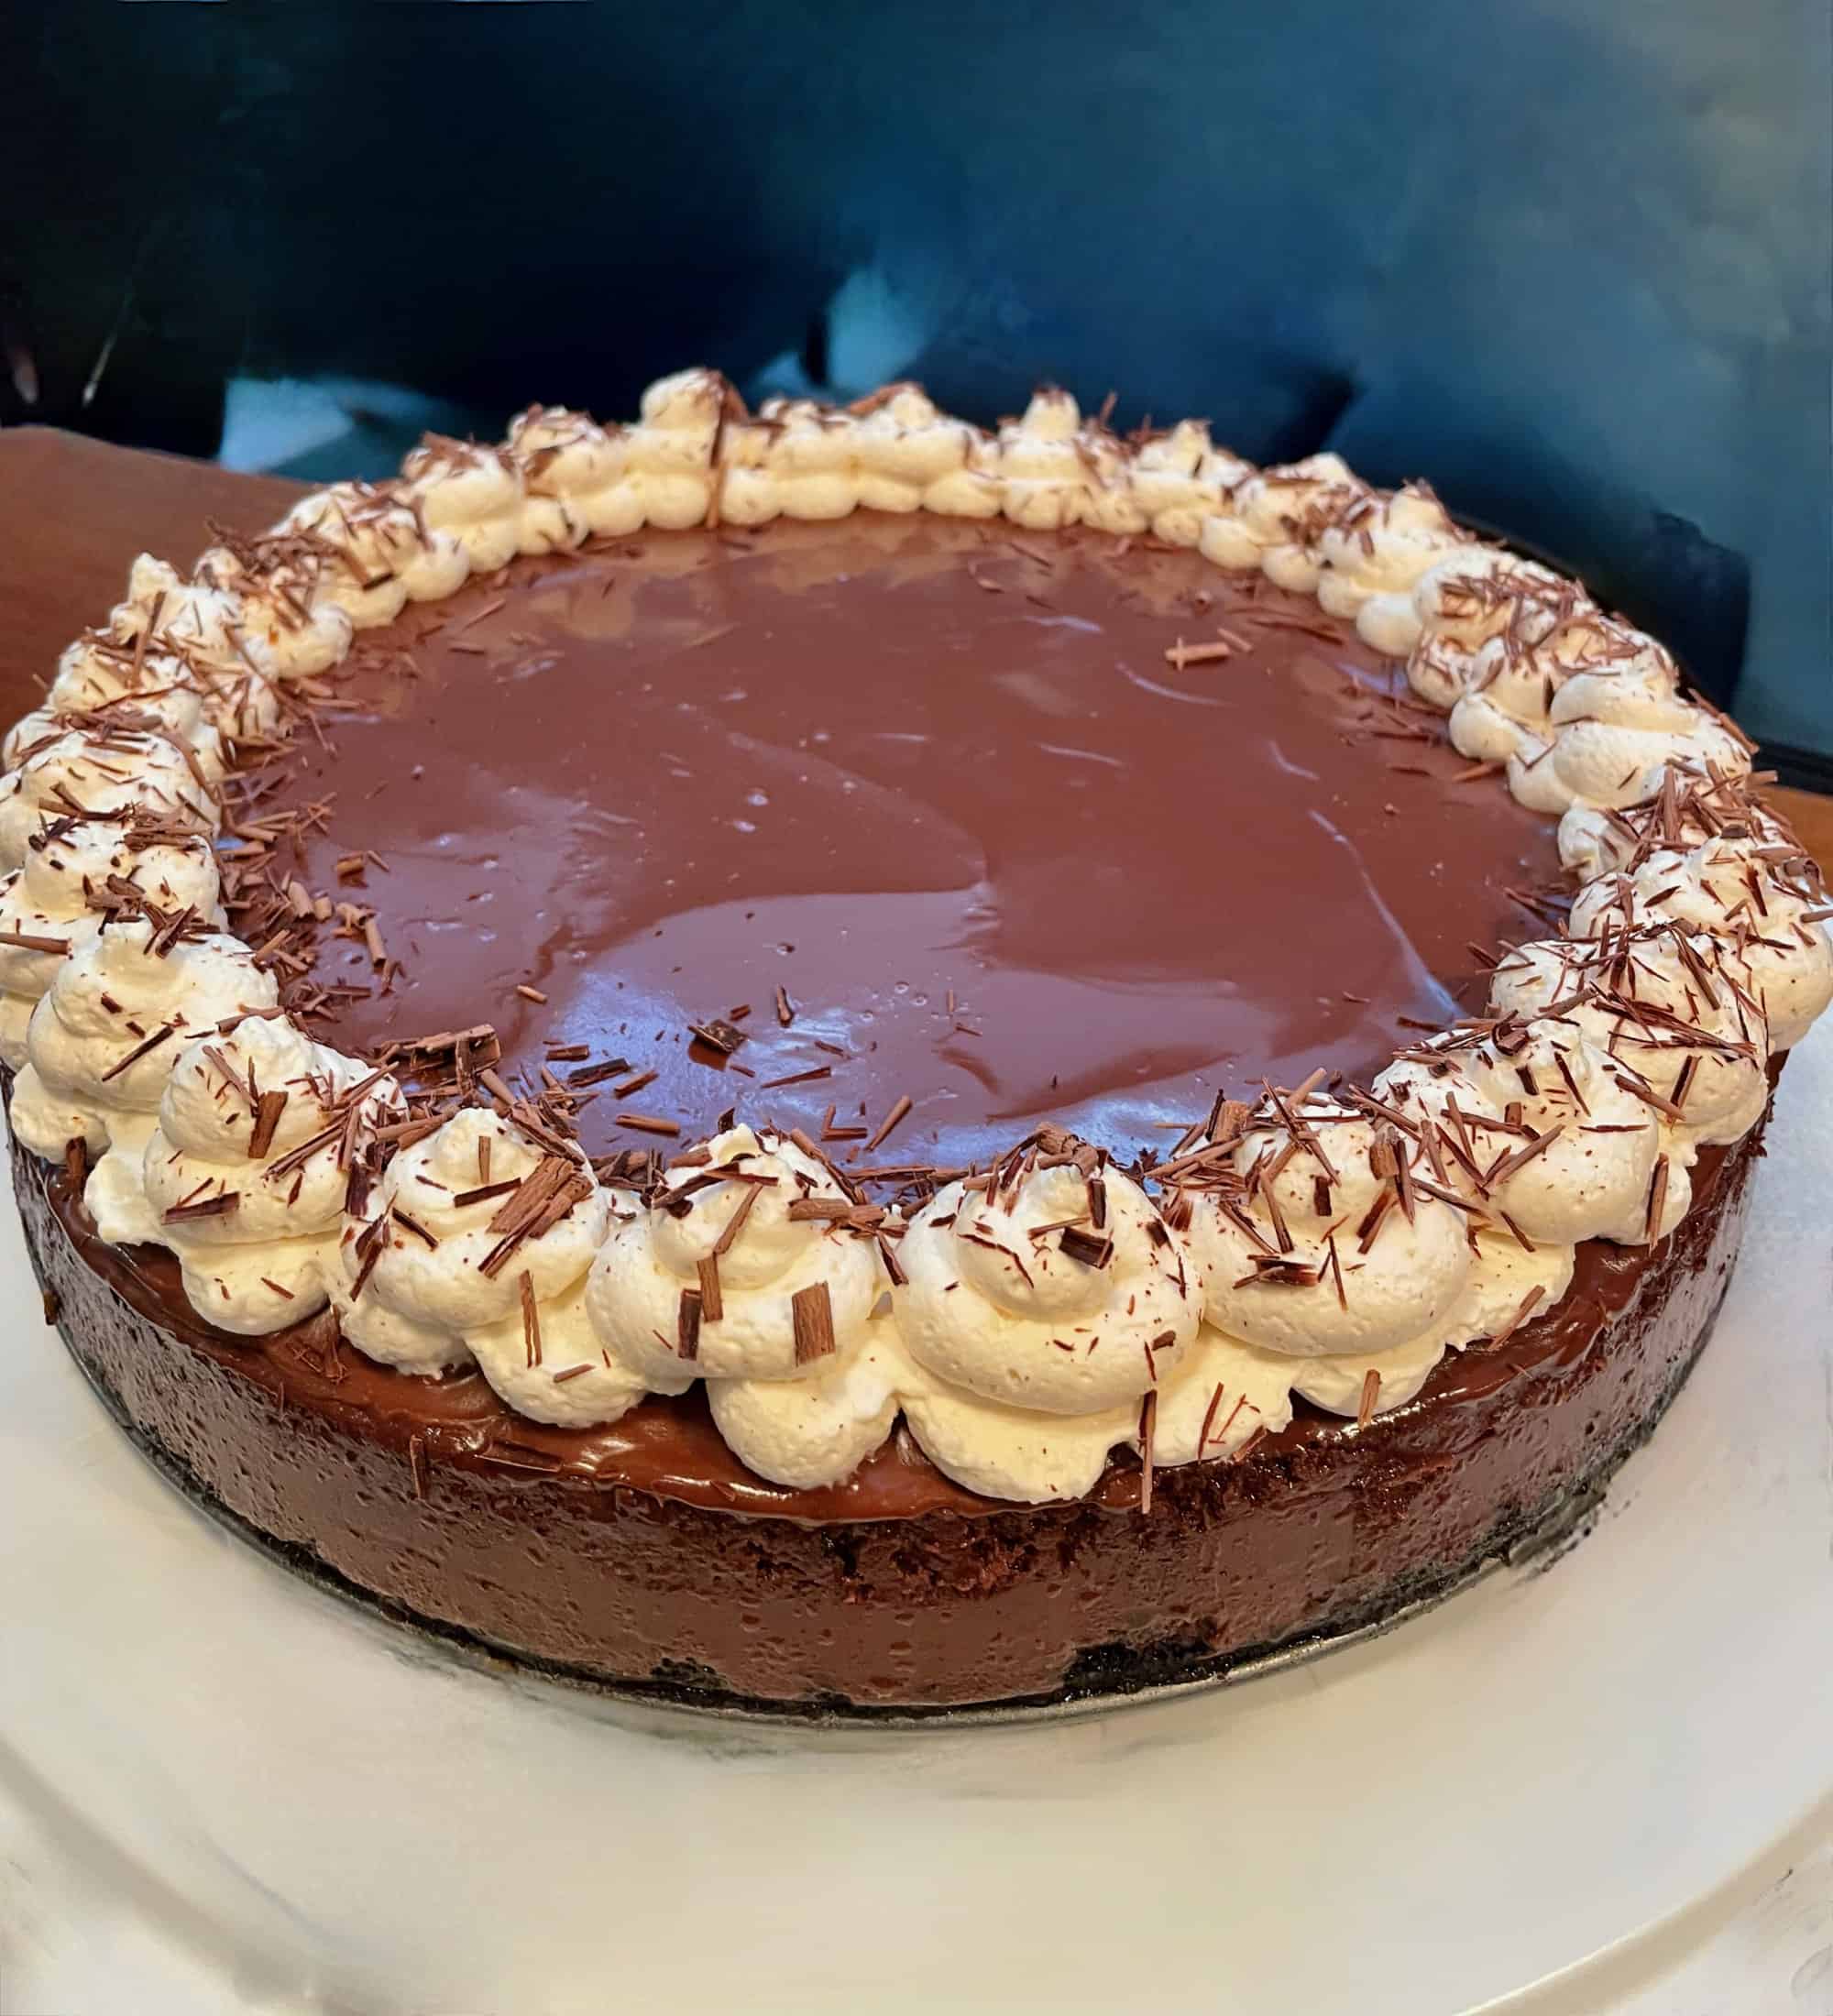
The Ultimate Chocolate Cheesecake features a chocolate cookie crust, the creamiest chocolate cheesecake filling, chocolate ganache, and Shaved Chocolate and Whipped Cream!
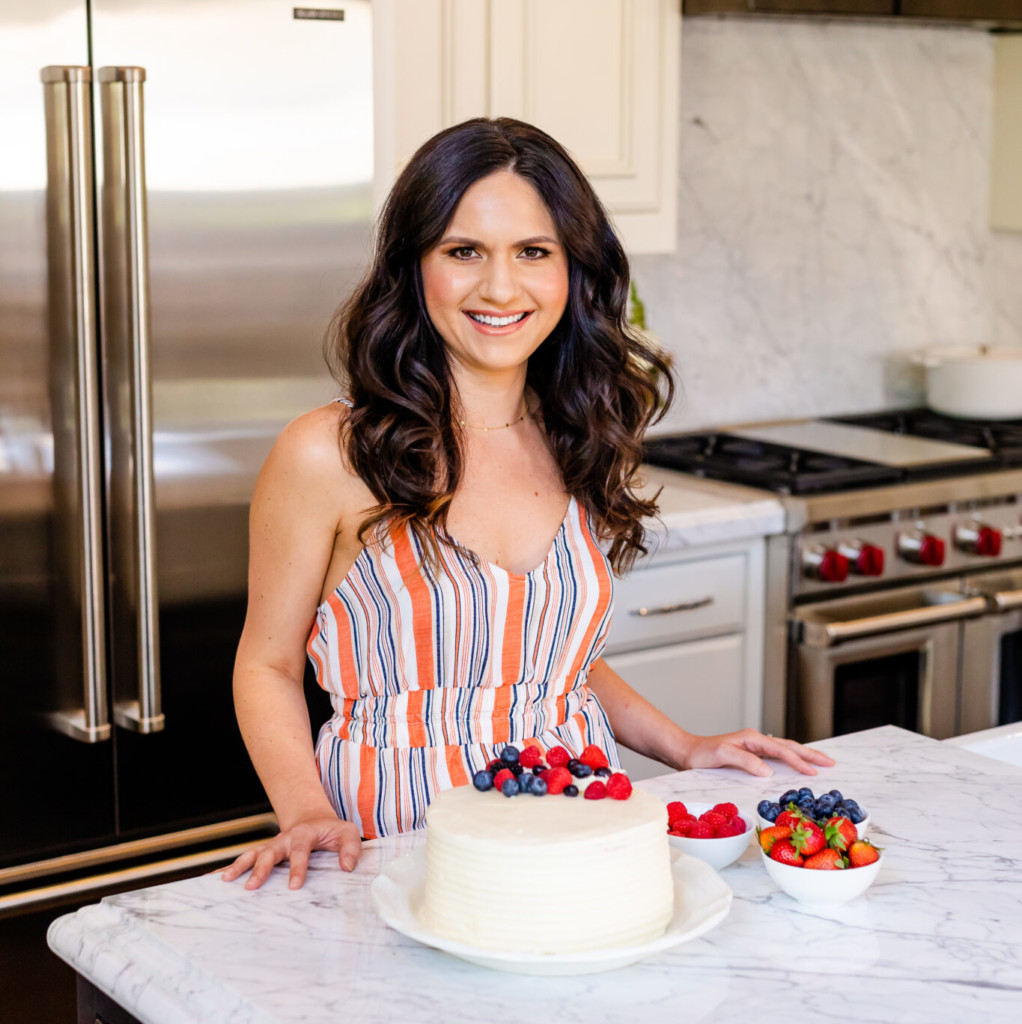
Simply put, this is the best chocolate cheesecake you’ll ever bake. But don’t take it from me. Take it from Ashley Manila, the blogger behind “Baker by Nature”. She knows her way around cheesecake. As you would too if your blog featured no fewer than 55 (FIFTY-FIVE) recipes for Cheesecake alone! Then again when you publish 241 recipes for Cake, 55 of them doesn’t sound like an unreasonable number of Cheesecakes. Take a look at https://www.bakerbynature.com. Then come back and we’ll bake the Ultimate Chocolate Cheesecake.
The Ultimate Chocolate Cheesecake is an all-day affair.
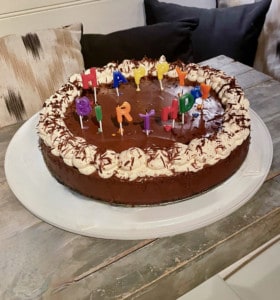
Or maybe 2 days. Chewing The Fat is full of recipes that take very little time to make. This isn’t one of them. Andrew started planning this bake days before it was served at a very big birthday party for a very good friend. The original recipe is for a 9-inch cake. And Andrew’s had to be a 12-inch cake to serve to 30 people. Andrew is hardly alone in wanting to know how to scale up Cheesecake Recipes. According to a woman named Shirley Corriher, author of “BakeWise: The Hows and Whys of Successful Baking” (Scribner 2008) there’s a formula for figuring it out V= H x H r2. Ms Corriher must know her stuff. Because at her other job, she’s a research biochemist at Vanderbilt University School of Medicine. Fortunately, Andrew did the math for you.
Before the recipe, some tips for making The Ultimate Chocolate Cheesecake.
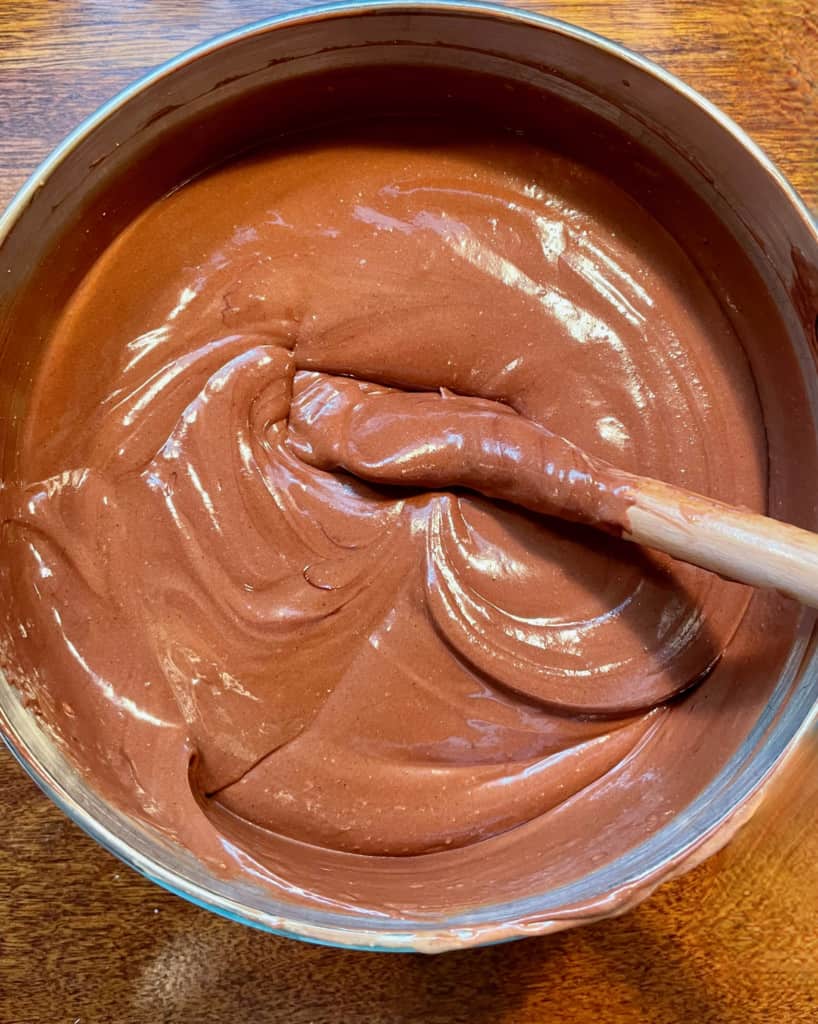
The filling of this cheesecake is made with 12 ounces of dark chocolate, which gives it a rich and indulgent flavor. To prepare the filling, you’ll need to melt the chocolate and let it cool slightly before adding it to the batter. Using chocolate chips may not give you the best chocolate flavor, so it’s recommended to use high-quality dark chocolate. Andrew used Pacari, an award-winning chocolate I brought back from Ecuador.
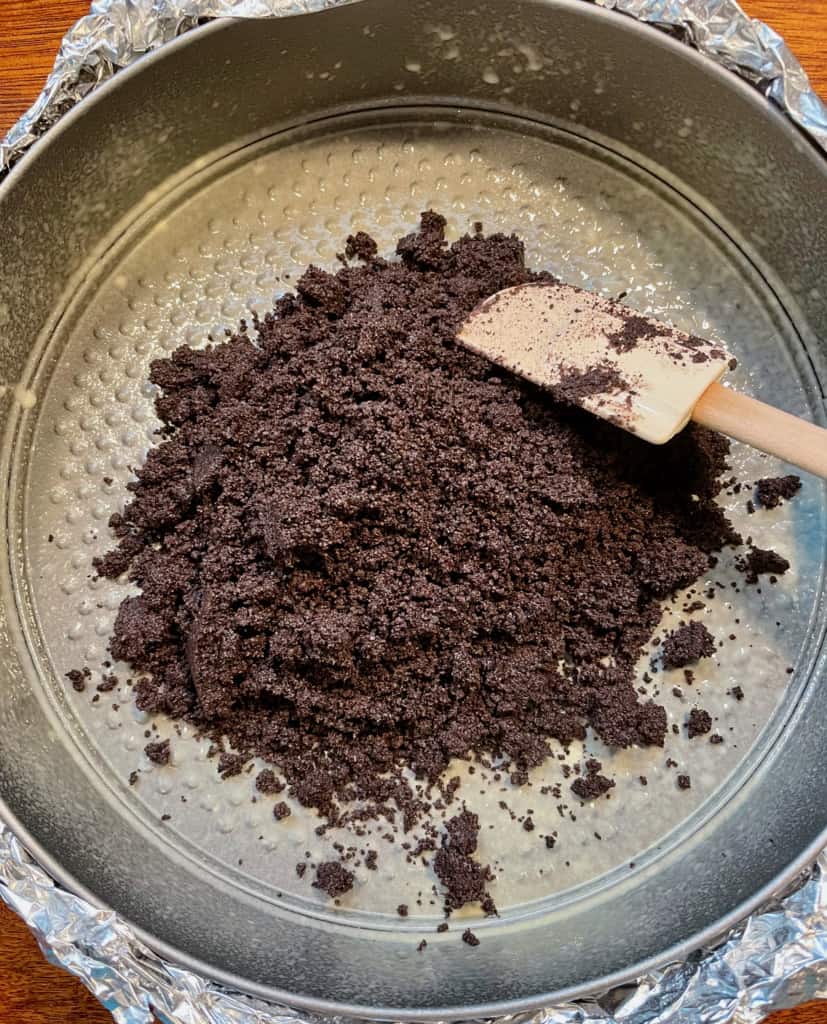
For the chocolate cookie crust, you’ll only need two ingredients: melted butter and chocolate wafer crumbs. Most unfortunately, Nestle has discontinued its Chocolate Wafers! Andrew substituted Oreos. You can also use a Graham Cracker crust but it won’t be Chocolate.
To bake this cheesecake, you’ll need a springform pan. If you don’t have one, you can find one good option by clicking here: https://www.amazon.com/s?k=12+inch+springform+pans
Before assembling the recipe, make sure the cream cheese is very soft. It’s best to leave it out on the counter for at least two hours before starting. Additionally, it’s important to bring the eggs and cream to room temperature, as using cold ingredients can affect the texture of 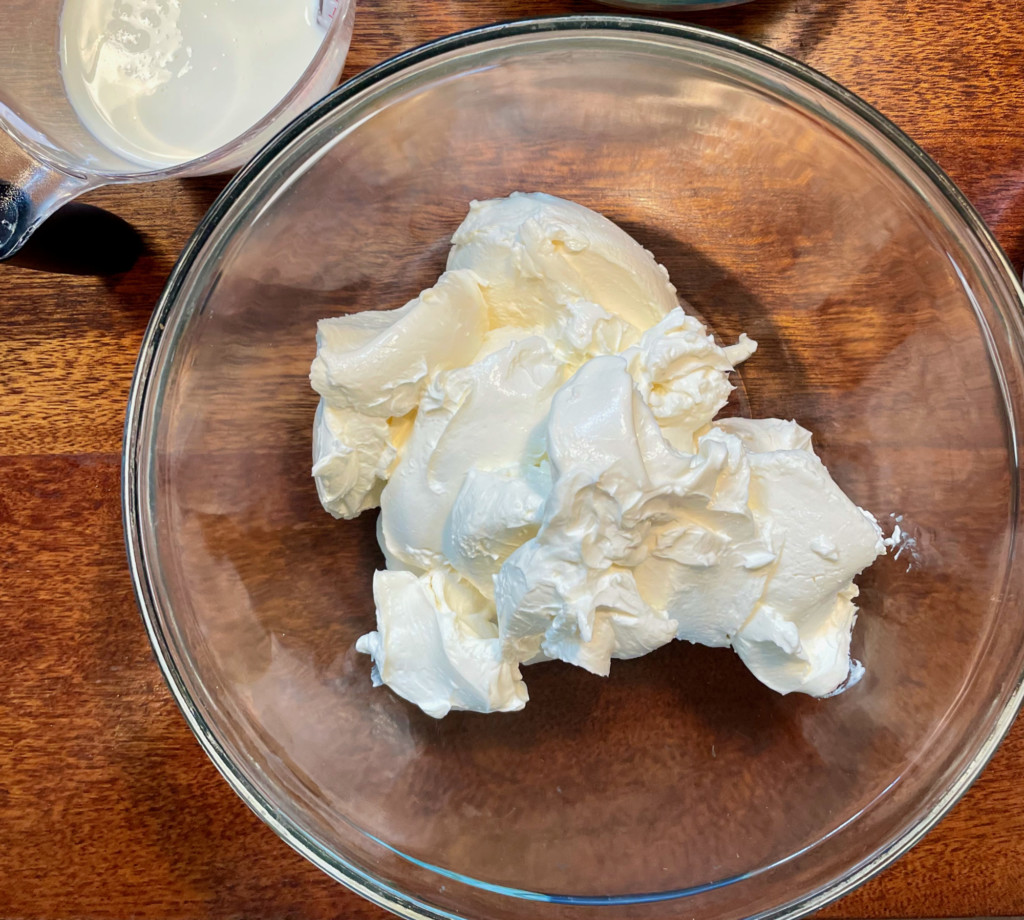 the batter.
The chocolate for the filling should be melted and slightly cooled before adding it to the batter. Allowing it to cool for about 10 minutes should be sufficient.
Once the cheesecake is baked, it needs to be chilled on a wire rack until it reaches room temperature. After that, it should be refrigerated for at least 6 hours before slicing and serving. This ensures that the cheesecake sets properly and doesn’t become too soft or mushy.
How to make a Water Bath for the Ultimate Chocolate Cheesecake.
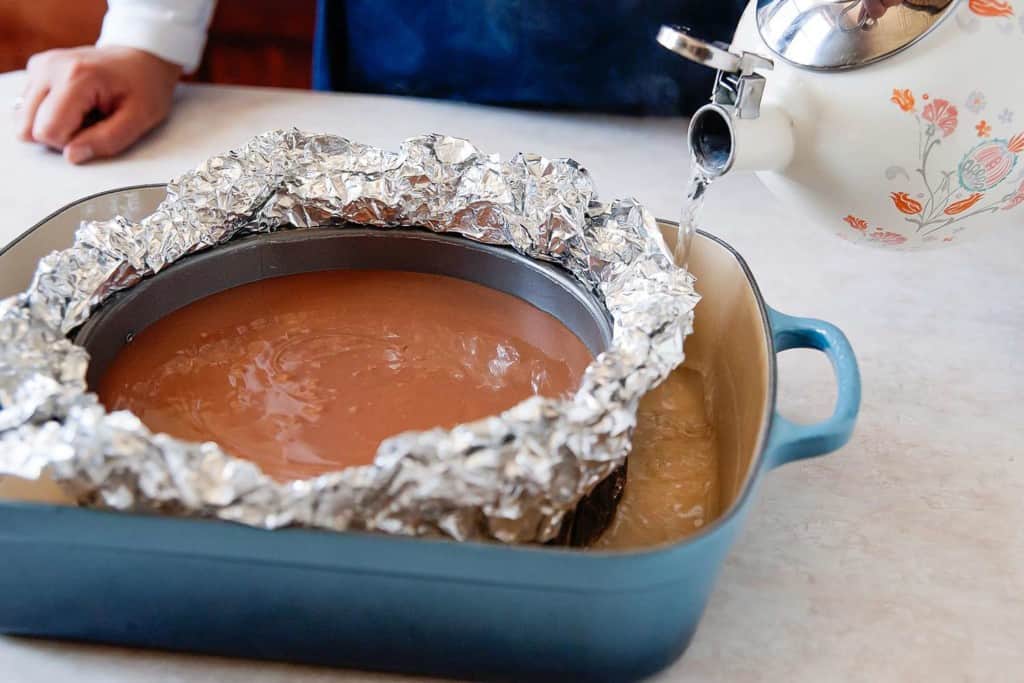 A water bath is simply the term bakers use when they place a baking pan – in this case, our spring form pan – into a larger pan that’s been filled partially with hot water. Taking this extra step helps insulate the pan from direct heat on all sides while it bakes. The water bath method helps your cheesecake bake gently, ensuring the finished product doesn’t burn, curdle, or crack. It also helps the cheesecake maintain its silky-smooth texture.
When it comes to choosing a pan or large baking sheet for your water bath, choose one that is as tall as the cheesecake pan and large enough to leave a few inches between the cheesecake pan and the outer rim; you want enough room for the water to circulate easily. Andrew used a roasting pan.
IMPORTANT: If you’re using a springform pan, it’s essential to wrap the pan in MULTIPLE LAYERS of heavy-duty aluminum foil. Otherwise, water will seep in and destroy your chocolate cheesecake. Wrap the pan from every angle and press the foil in, up, and around the pan’s edges.
When you’re ready to make your water bath, here’s what you do:
- Adjust an oven rack to the middle position. Preheat oven to called for temperature. When the oven is preheated, carefully (using an oven mitt) pull out the middle rack and place your large pan on it.
- Fill the pan with 1 and 1/2 inches of boiling hot water, then place the filled cheesecake pan in the center of the water bath.
- Slowly slide the rack back to its full inserted position and close the door. Bake the cheesecake according to instructions.
Andrew’s Tip: Be sure to cool the baked Ultimate Chocolate Cheesecake in the springform pan until you’re ready to serve it! This includes the time the cheesecake chills in the refrigerator.
HERE IS TODAY’S RECIPE AND BELIEVE IT OR NOT, MORE CHEESECAKE RECIPES.
ULTIMATE CHOCOLATE CHEESECAKE
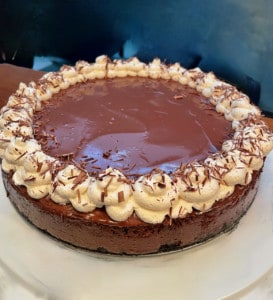
Rich, Creamy and supremely flavorful, this is the ultimate chocolate cheesecake.
Ingredients
- For the Crust:
- 2.1/4 Cups (240g) Oreo or Graham Cracker Crumbs
- 1/3 cup (75g) unsalted butter, melted
- For the Ultimate Chocolate Cheesecake:
- 3 cups (18 oz. 375g) bittersweet chocolate, coarsely chopped
- 2 and ¼ pounds (1135g) full-fat cream cheese, at room temperature
- 1.1/2 cups (300g) granulated sugar
- 1/3 cup (66g) light brown sugar, packed
- 4.5 Tablespoons unsweetened natural cocoa powder
- 6 large eggs plus 3 egg yolks, at room temperature
- 1 cup (200g) heavy cream, at room temperature
- 2 teaspoons vanilla extract
- For the Chocolate Ganache:
- 12 ounces (340g) semi-sweet chocolate, finely chopped
- 2 and 1/4 cups (18 ounces 510g) heavy cream
- 1/3 cup (66g/3 ounces) unsalted butter, at room temperature, cut into cubes
- Whipped Cream and Chocolate Shavings (Optional)
Directions
- Step 1 For the Crust:
- Step 2 Preheat oven to 325°F (163°C). Grease the bottom and sides of a 12-inch spring-form pan. Wrap the outside of the pan in layers of heavy-duty aluminum foil. You’ll be placing this pan in a water bath, so be sure the pan has been wrapped from every angle.
- Step 3 In a medium mixing bowl, combine the chocolate wafer crumbs and melted butter. Pat the mixture firmly into the bottom of the prepared pan. Bake the crust for 10 minutes. Set the pan on a wire rack and cool the crust completely. Leave the oven on.
- Step 4 For the Ultimate Chocolate Cheesecake
- Step 5 Fill a medium pot one-third full with water and bring it to a low simmer over medium heat.
- Step 6 Place a heatproof bowl that will fit on top of the pan snugly, but will not touch the simmering water, on top of the pan. Reduce the heat to low and add the chopped chocolate into the bowl over the pot. Heat until the chocolate is completely melted, stirring occasionally with a silicon spatula. Remove the pot from the heat, leaving the bowl of chocolate over the hot water. Set aside until needed.
- Step 7 In the bowl of a food processor (or high-powered blender), pulse the cream cheese until completely smooth, scraping down the sides of the bowl as needed, about 2 minutes. Add in both sugars and cocoa powder and beat smooth. Add in the eggs, egg yolks, and heavy cream and mix until just combined, about 20 seconds. Fold in the chocolate. Finally, add in the vanilla and pulse for another 20 seconds.
- Step 8 Remove the bowl from the food processor and, using a rubber spatula, stir the filling several times to ensure it’s evenly blended.
- Step 9 Scrape the filling over the partially baked crust in the prepared pan.
- Step 10 Place the spring-form pan in a roasting pan or large baking pan. Place the roasting pan in the preheated oven and pour enough hot water into the pan to come 1 inch up the sides of the springform pan.
- Step 11 Bake the cheesecake in the water bath for 1 hour and 10 minutes, or until the center of the cake is set but still slightly jiggly. The cake will set completely as it cools.
- Step 12 Remove the cake from the water bath and place the pan on a wire rack. Carefully loosen the foil, then immediately run the tip of a knife around the sides of the pan, to prevent the top from cracking. Cool completely (in the pan), then transfer cheesecake to the refrigerator to chill for at least 6 hours before removing from the pan and slicing.
- Step 13 For the Chocolate Ganache
- Step 14 Add chopped chocolate to a medium bowl
- Step 15 set aside.
- Step 16 In a small saucepan over medium heat, bring the cream to a low simmer. Pour half of the cream on top of the chocolate pieces and set aside for 1 minute. With a whisk, begin to incorporate the melted chocolate into the cream. Slowly add the remaining cream and continue carefully whisking until smooth and glossy.
- Step 17 Add in the butter and use a spatula to stir until the butter is completely melted. The mixture will be dark and glossy. Set aside, at room temperature, until needed.
- Step 18 Pour ganache over cooled cheesecake. Set aside until the ganache is set, about 1 hour.
- Step 19 To serve, slice the cheesecake with a thin-bladed sharp knife, wiping the knife clean between each cut.
- Step 20 Store, loosely covered, in the refrigerator, for up to 5 days.
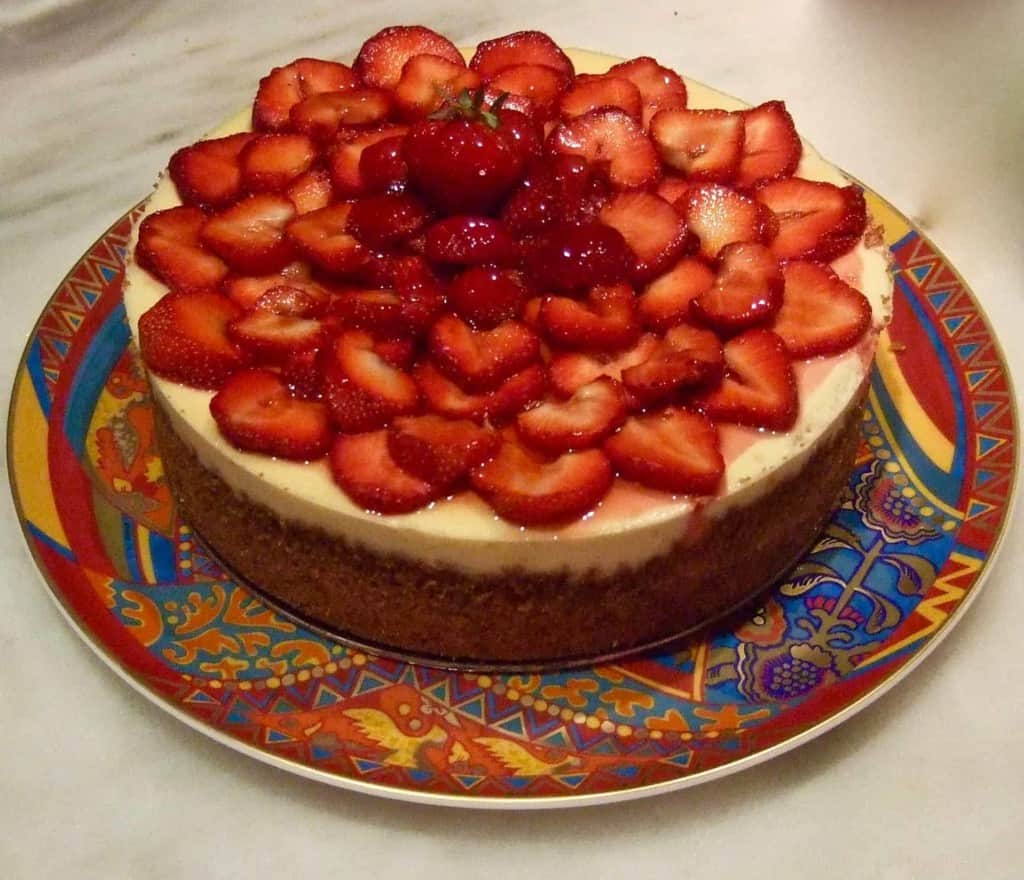
Pistachio and White Chocolate Cheesecake from "Baked Occasions" by Matt Lewis and Renato Poliafito
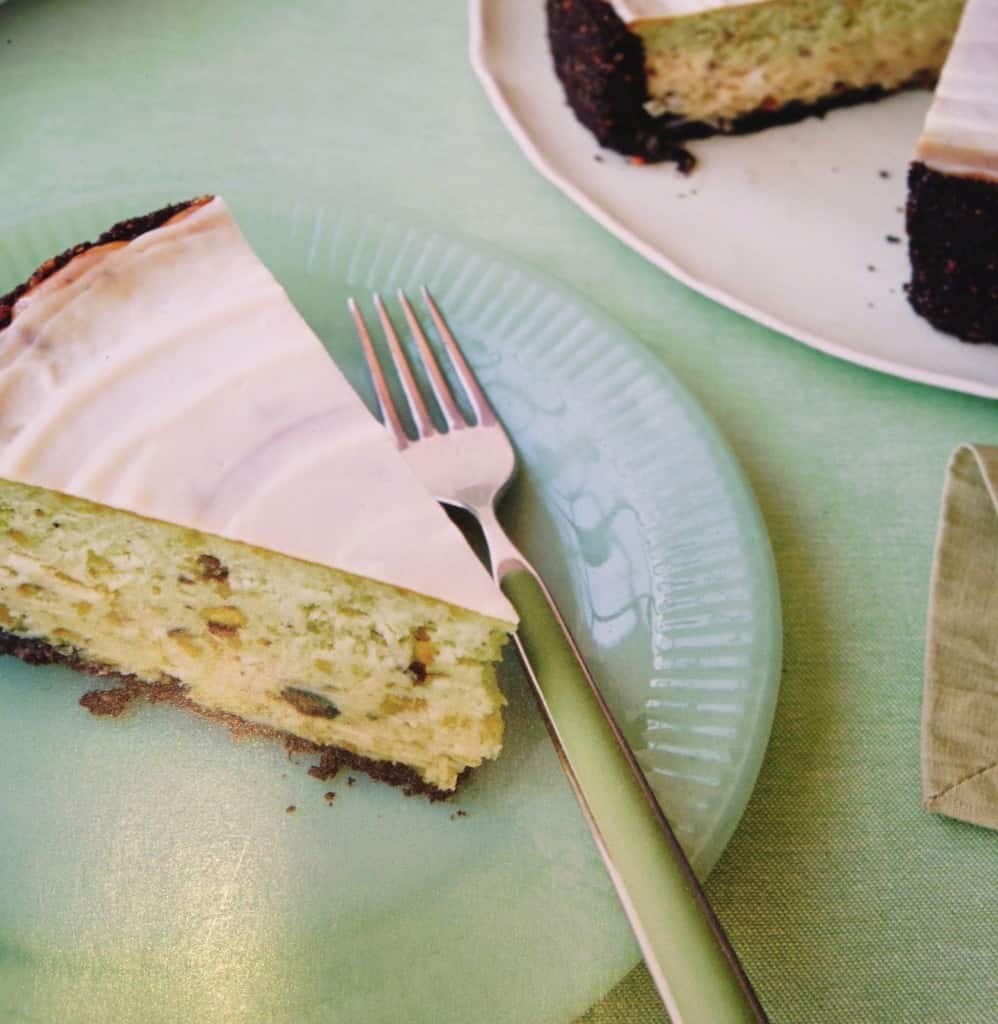
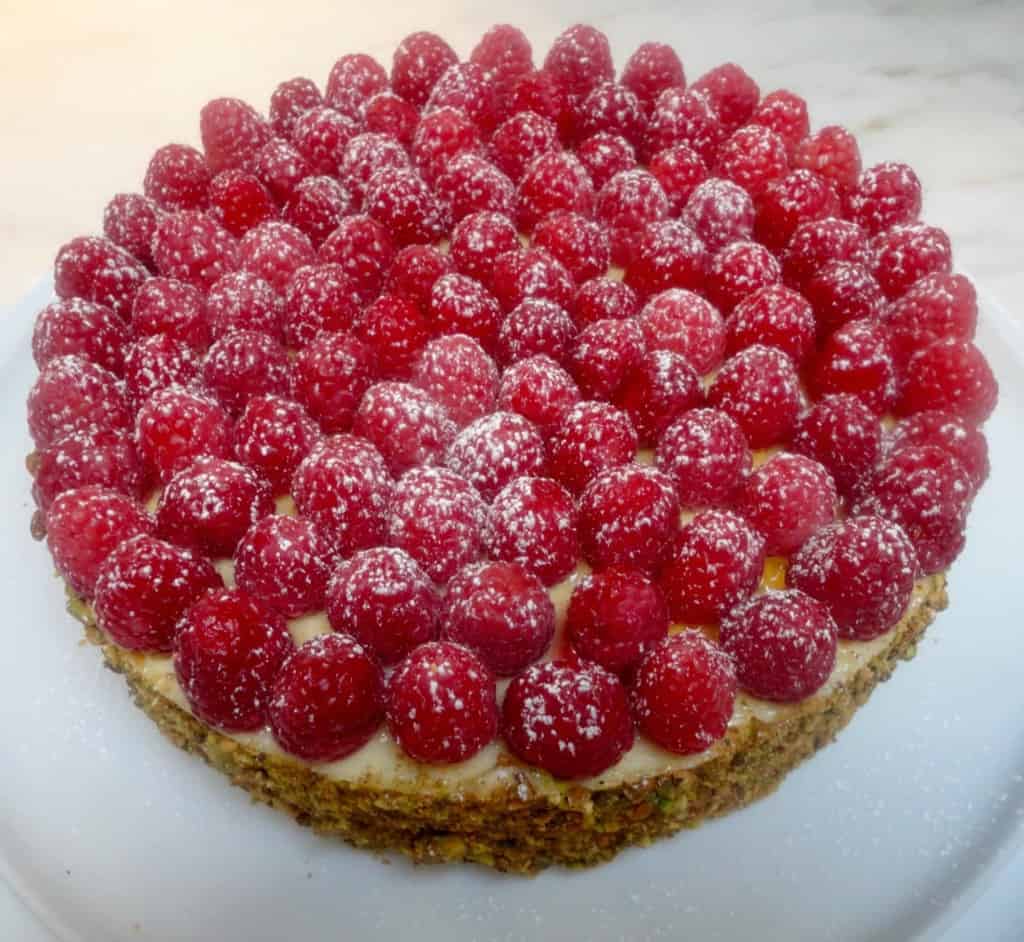
Raspberry Pistachio Cheesecake from John Barricelli of the SoNo Baking Company
